

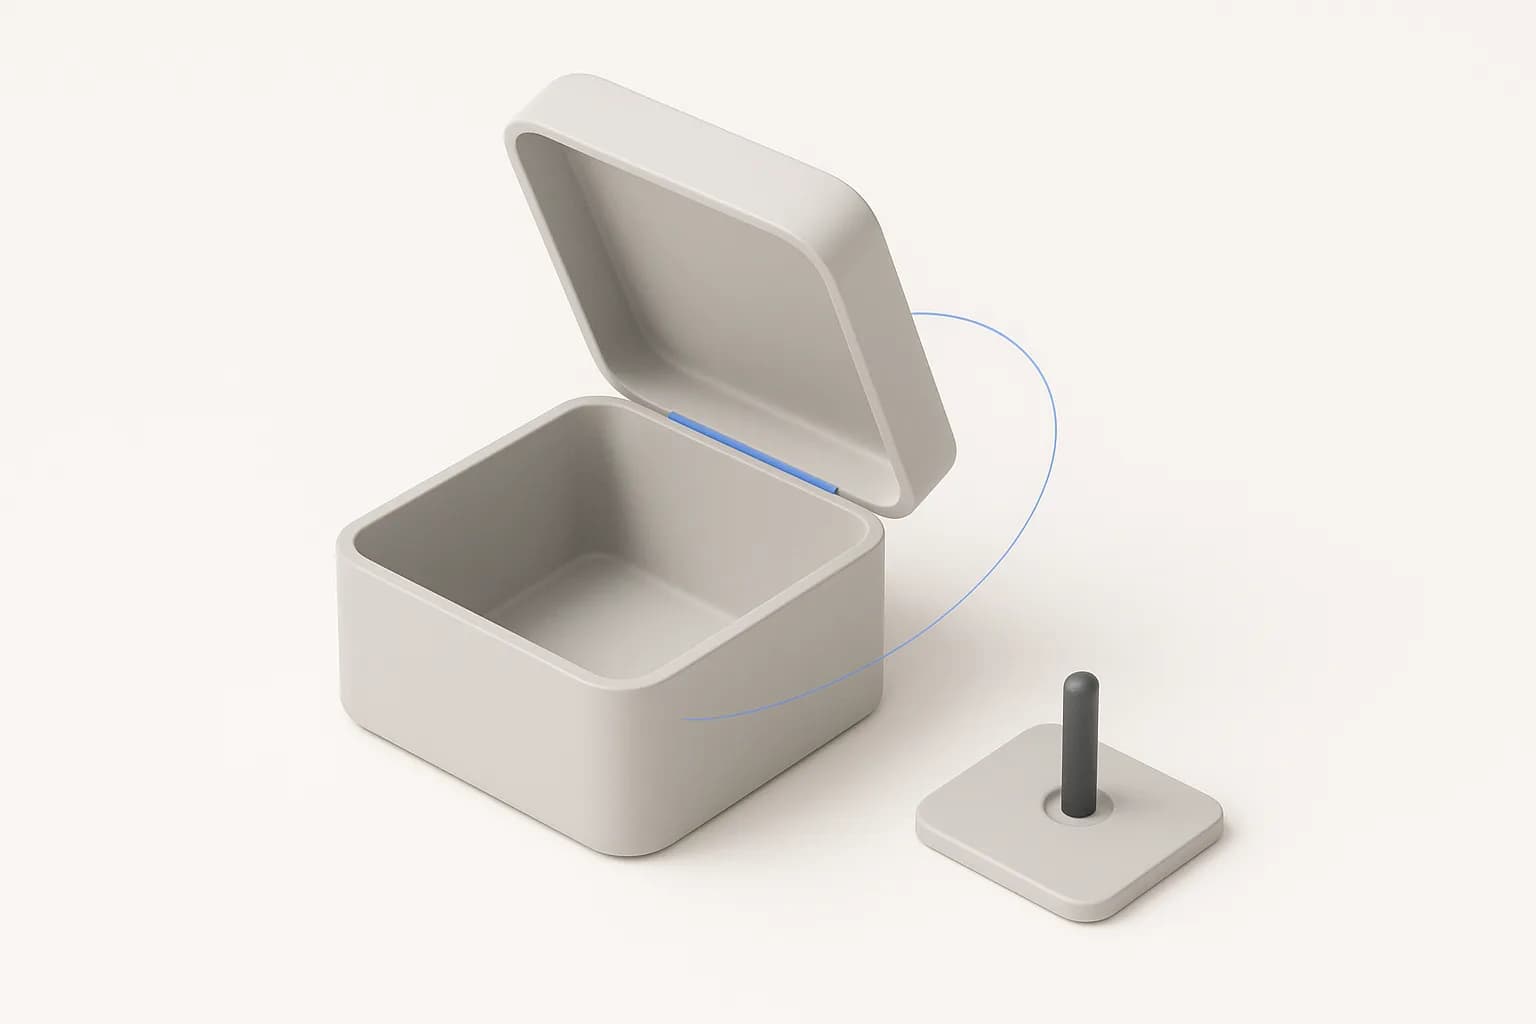
Zenve3D 0.12.0 turns the mate into a joint. Until now a mate put one flat face against another, and that was all it could do. Now either side can be an edge, a hole's rim, a cylinder's axis or the midplane between two walls. A pin drops into its bore axis to axis, and a lid centres itself between the walls of the box it closes. Once a mate exists, four offsets slide and turn the part, and dragging one moves it immediately.
A mate seats two joint origins
A mate joins two joint origins. Each one is a point and a direction. A face's centre and its outward normal is the one you already know. 0.12.0 adds the others a maker actually seats on:
- Face: its centre, or a corner or an edge midpoint of that face. Z is the face's normal.
- Edge: a straight edge's start, middle or end, with Z running along the edge. A circular edge seats at its centre, with Z on its axis. That is a hole's rim, or the end of a pin.
- Axis: a point on a cylinder's axis (start, middle or end), with Z along the axis.
- Between: the midplane of two parallel faces, which follows both of them. Make the box wider and the seat moves by half.
Any origin can meet any other: a rim onto a face, an edge onto an axis. The two sides are independent.
How to use it
Switch to Assembly and press Mate, key M.
- Moves: choose Face, Edge, Axis or Between, then tap the part that should move. Dots appear on the pick, so you tap a corner, a midpoint or an end to seat there.
- Stays put: the same choices for the part it seats against. That part does not move.
- Flip if the part should pass through the seat instead of standing off it.
- Press Create mate.
The moved part lands with the least turn from where it stood, so pose the parts roughly the way you mean them before you press Create. For an edge or an axis there is no material side to read, so Create keeps the part's pose as far as it can and Flip turns it over. If you picked the sides backwards, Swap sides trades them before you create.
Four offsets, all draggable
Select the mate in the browser and its panel shows four offsets, the same four Fusion's Joint dialog has:
- X and Y walk the seat across the fixed side's plane.
- Z is the gap, which stands the part off the seat.
- Angle turns the part about the fixed side's Z, in place on the seat.
Each one is a slider centred on zero, so you can nudge either way from the first grab. Let go at the end of the track and it widens, so a value can keep growing without typing. Every offset is a dimension, so it takes a parameter: lid_gap, lid_turn, or clearance / 2.
Dragging an offset used to rebuild the moved part's whole history. Now the part is just re-seated: about 4 ms a tick instead of 300.
That speed-up is what makes the sliders worth having. A part that only moved keeps its shapes and meshes and is relocated in place. Nothing is recomputed that did not change.
Example: a pin in a bore
A plate with a hole through it, and a pin in its own part.
- Model the plate, with a hole of
bore_d. Model the pin in a second part,bore_d - clearanceacross. - Mate: Moves Axis, tap the pin's wall. Stays put Axis, tap the bore's wall. Create.
The pin slides into the bore as it stands. If it went in upside down, Flip turns it over. Drag Z to set how far it sits proud of the plate. Change bore_d and both the hole and the pin follow, and the mate re-seats on the next rebuild.
Revolute: a lid on a hinge
A mate holds a part still. A revolute joint lets it turn about one axis, by an angle you drive. It is Fusion's Revolute joint, and it lands in the next update.
It seats exactly the way a mate does, with the same origins, the same four offsets and the same Flip. Then the part turns about the fixed side's Z, by the joint angle. So the origin you pick is the hinge:
- an Edge puts the hinge along that edge, like a lid's back edge.
- an Axis puts it along a bore, like a pin in a hole.
- a hole's rim puts it on the rim's axis.
A face's centre turns about the face's normal. That gives you a lazy susan, not a lid.
In the Mate panel, set Motion to Revolute, type the Angle, and press Create joint. Afterwards the joint's panel has a Motion section with a signed slider for the angle. The angle is applied after the offsets: the offsets say where the hinge sits, and the angle says how far it is open. Like every offset, the angle takes a parameter. Point it at lid_open, change that one number, and the lid swings. The part is only re-seated, so nothing rebuilds.
Example: a lid centred between two walls
A box with an inner lip, and a lid that should sit centred in it however wide the box gets.
- Moves Face, tap the lid's underside.
- Stays put Between, tap the box's left inner wall and then its right one. Create.
Make the box 10 mm wider and the lid moves 5 mm, staying centred. Drag Angle to 90 and the lid turns a quarter in place, on the seat.
Example: a hinged lid
The same box, with a lid that opens.
- Motion Revolute. Moves Edge, tap the lid's back bottom edge. Stays put Edge, tap the box's back top edge. Set Angle to
lid_open. Create joint. - Set
lid_opento 90.
The lid swings up about its back edge and stands open. Set lid_open to 0 and it closes flush. Resize the box and the hinge line stays on its back edge.
Honest limits
Joints are one-way. A part takes one joint, whether a mate or a revolute, and two parts cannot place each other. A revolute's angle is a value you set, not something you grab: you can't yet drag the lid itself open in the viewport, and there are no limits on how far it turns.
A thread's faces and a swept face cannot seat a mate yet. A curved face picked as a face is refused; pick it as an Axis instead.
Scripting it
If an agent builds the assembly for you, a joint is one line and each offset is one more:
mate axis($pin, 0) to axis($plate, 4) -> $m
offset relation $m = "2"

param lid_open deg = "0" -> $open
joint revolute edge($lid, 2) to edge($box, 7) angle "lid_open" -> $hinge
set param $open = "90"
The moved origin comes first. Read the line as a sentence: mate this onto that. The scripting post covers the rest of the grammar.
What's next
0.12.0 shipped the mate's new origins and offsets, and the revolute comes next. After it: choosing the hinge axis as X, Y or Z of the joint origin, limits (a minimum, a maximum and a rest angle), and an Animate button that plays the joint through its range. Public projects shipped in the same release: make a part public from its menu and anyone with the link can view it at zenve3d.com and fork it into their own library.