

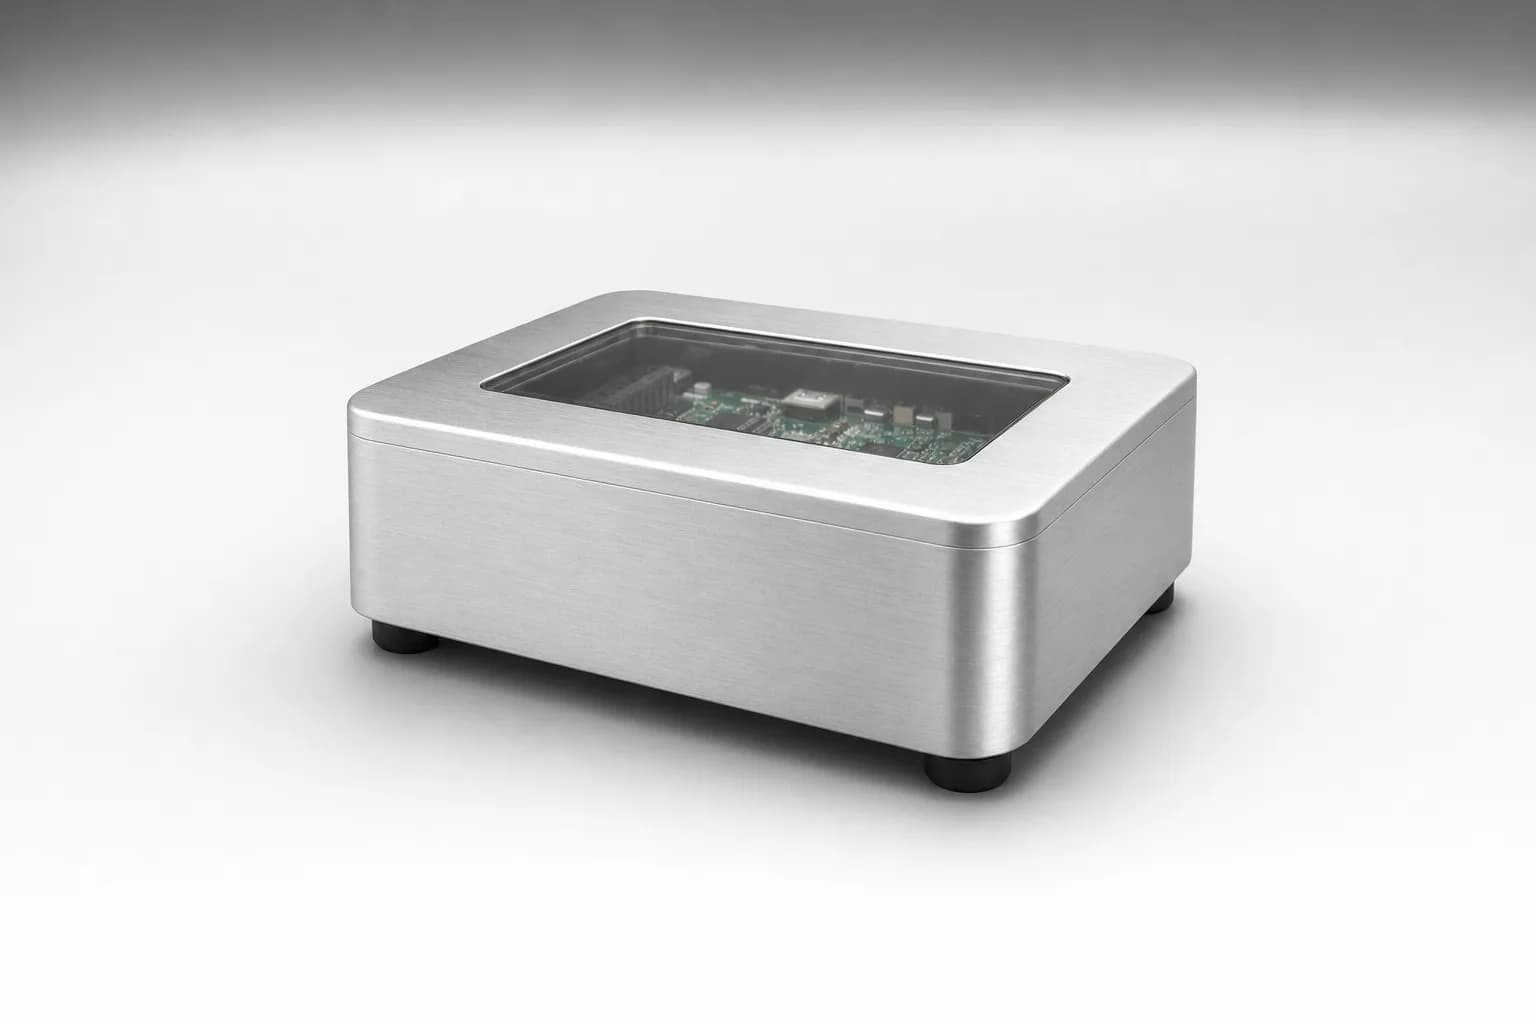
Zenve3D 0.15.0 adds a fourth way to be in a project, beside modeling, sketching and assembling: Visualize. Give a body a finish and a colour, light the scene, and step into a view of the finished part. The grid, the datum planes, the sketch ink and the timeline are all hidden. Then export what you see as an image, at up to 3840 pixels wide, free at every size.
A part you designed for a shop listing, a README or a forum post no longer has to be screenshotted out from under the CAD.
How it looks is not what it is
The decision under all of this is that a body now carries two records, and neither reads the other.
The material is what the part is made of. It's the PLA or the 6061 the shop needs, with the condition, tolerance standard and finish that 0.14.0 added. The appearance is how it looks on screen: a finish from a preset library plus a colour. A PLA print shown as brushed aluminium is the normal case, not a contradiction. Changing one never touches the other, and neither changes any geometry, so nothing rebuilds.
A body with no appearance looks exactly as it always did, in its material's colour. Nothing you made before 0.15.0 changes colour on you.
How to use it
Give a body a look. Open the body panel. The old Material card is now Appearance, with a Finish row and a Colour row. The finishes are matte plastic, gloss plastic, aluminium, steel, brass, wood, glass and rubber. Plastics and rubber take any colour. Metals, wood and glass set their own colour, and the swatch strip says "Set by the finish".
Give one face its own look. Select a face and pick a finish and colour for it. The rest of the body keeps the body's look. The override is held by the face's persistent reference, the same one a sketch on that face uses, so it follows the face through a fillet, a parameter change or a boolean.
Light the project. Gear ⟩ Lighting: Default, Studio, Soft or Outdoor, with Shadow and Reflections toggles. The lighting is saved with the document, so the project reopens lit the way you left it, on the iPad, the Mac and the web builder alike.
Step into Visualize. Tap the Visualize tile beside Model, Sketch and Assemble, or press ⌘5 on a keyboard. Everything that is there to help you design is hidden. Tapping a body or a face opens its appearance picker, and nothing else. The banner holds Background (Default, Colour, Gradient or Transparent), Ground and Done. Done brings back the selection you had when you came in.
Export the image. In Visualize: Gear ⟩ Export Project ⟩ As Image… (File ▸ Export ▸ Export Image… on the Mac). The current camera renders at 1×, 2× or 4× the window, or at 1920 or 3840 wide. A transparent background writes a PNG with alpha. Any other background writes a JPEG.
Example: a listing photo for an enclosure
You printed an Arduino enclosure and want a clean picture of it for a shop page.
- Body panel ⟩ Appearance: Finish Matte plastic, the colour of your filament.
- Gear ⟩ Lighting: Studio, Shadow on.
- Visualize, Background Gradient. Orbit to a three-quarter view.
- Export at 3840 wide.
The result is a product shot on a seamless backdrop with a soft shadow under the case. Change wall or lid_height later, step back into Visualize and export again. The look and the lighting are still on the document, so the second picture matches the first.
Example: a part with no background
A brass knob for the top of a README, sitting on whatever page it lands on.
- Appearance: Finish Brass.
- Lighting: Soft, Reflections on.
- Visualize, Background Transparent. Export at 2×.
You get a PNG with an alpha channel. Drop it on a dark page or a light one and there is no rectangle around it.
Example: one face that differs
A wooden box with a glass window in the lid.
- Give the box Finish Wood on the body panel.
- Select the lid's top face and give it Glass.
- Fillet the lid's edges afterwards.
The window stays glass, because the override is on the face's name, not on its number. If a change removes the face entirely, the override doesn't disappear without a word or jump to a different face. The body panel shows an Unresolved card with a Clear button, so you can see what was lost.
A brass-looking PLA part is the ordinary case: the appearance is for the picture, the material is for the shop.
Honest limits
Lighting is presets only. There is no light to move, no exposure slider and no HDR file to bring in. The single colour you can pick is the solid background's.
The finish library is closed. Eight words, the same on every client, which is what makes the iPad, the Mac and the browser agree on how a part looks. Wood is a colour and a finish, not a grain.
Image export lives in Visualize. The Image row stays disabled outside it, while STL and STEP export work from Visualize as before.
A 4× export of a large window can come back blank. The image ends up bigger than the graphics chip will render in one go. Until that's fixed, use the 3840 width, which is fixed whatever the window size.
A glass face isn't quite a glass body. A body set to glass becomes see-through as a whole. A single face set to glass gets a transparent coat, but how much you see through it can differ from the all-glass case, depending on what sits behind that face.
The document format moved from version 57 to 61. A project saved in 0.15.0 doesn't open in 0.14.x. Every older project opens in 0.15.0.
Scripting it
If an agent is building the part, the look is three lines of .zcmd:
appearance $case = matte-plastic rgb 1c1c1e
appearance face($case, 4) = glass rgb 9fd3ff
lighting studio shadow reflections background gradient
Each line changes nothing in the geometry, and each one reads back in the report, so an agent can check what it set. The scripting post covers the rest of the grammar, and any AI can build parts covers handing it to one.
What's next
The lighting record already includes one more place it will be shown: the thumbnail of a share link, a view-only link to a project that opens in a browser. That's the next place your part's look will show up outside the app.